Link Search Menu Expand Document

Preset

Preset is a cloud-hosted data exploration and visualization platform built on top of the popular open-source project, Apache Superset. This fully managed service makes it easy to run Superset at scale with enterprise-ready security, reliability, and governance.

Boasting exceptional speed and scalability, Firebolt enables users to adeptly manage substantial data volumes with minimal query latency. The integration with Preset establishes a strong partnership for data professionals, presenting them with a streamlined and efficient workflow. This collaboration ensures prompt loading of Preset dashboards and visualizations, even when confronted with extensive datasets, thereby facilitating the extraction of maximum value from their data.

Prerequisites

Preset is a managed service so most of the deployment requirements are handled by them.

You will only need:

Quickstart

Create a workspace

A workspace is an organizational unit, accessible by team members, that is created for a specific purpose. You can read Preset’s guidance on workspaces to learn more.

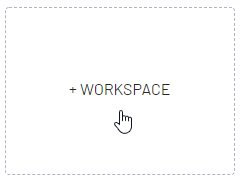
  1. To Create a Workspace, navigate to the empty card and select + Workspace.

    Create Workspace

  2. Define Workspace name and settings

    Add new Workspace

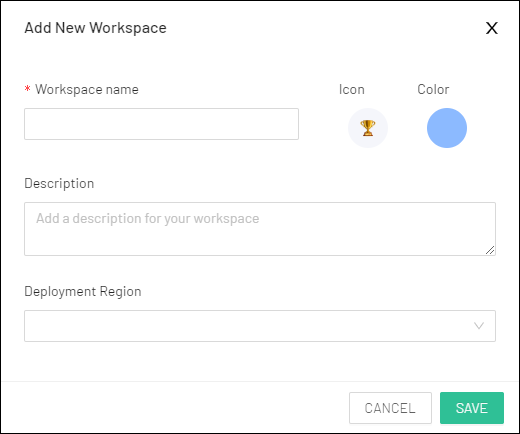
  3. Save the workspace and enter it by clicking the card.

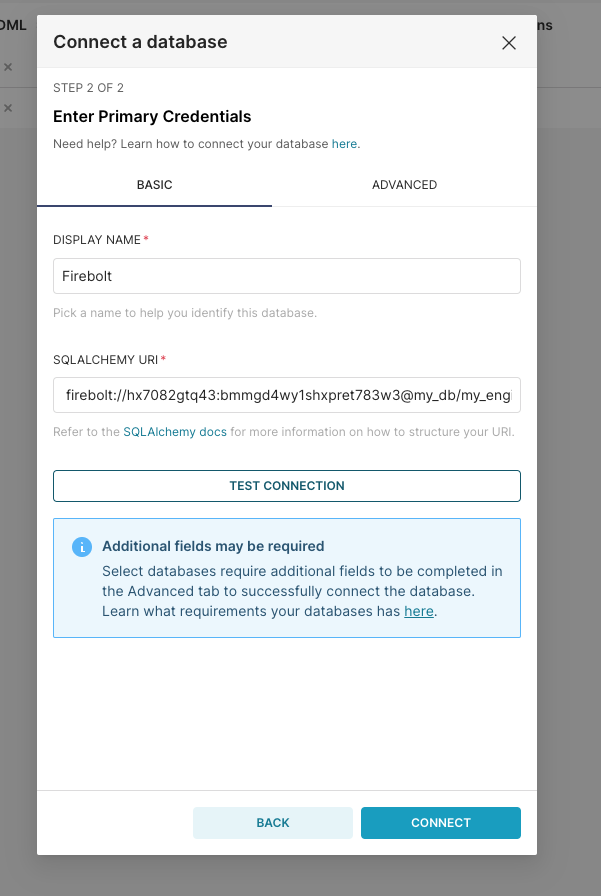
Setup Firebolt connection

After the initial setup in Preset User Inteface head to the Settings -> Database connections in the top right corner.

Database Connections

On the next screen, press the 
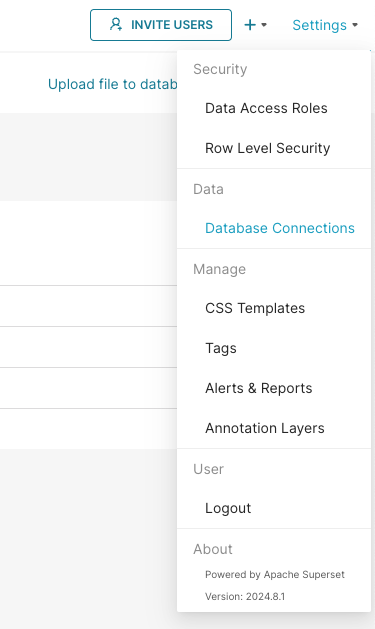
+ Database button and select Firebolt from the dropdown.

Connect database

The connection expects a SQLAlchemy connection string of the form:

firebolt://{client_id}:{client_secret}@{database}/{engine_name}?account_name={account_name}

To authenticate, use a service account ID and secret. A service account is identified by a 
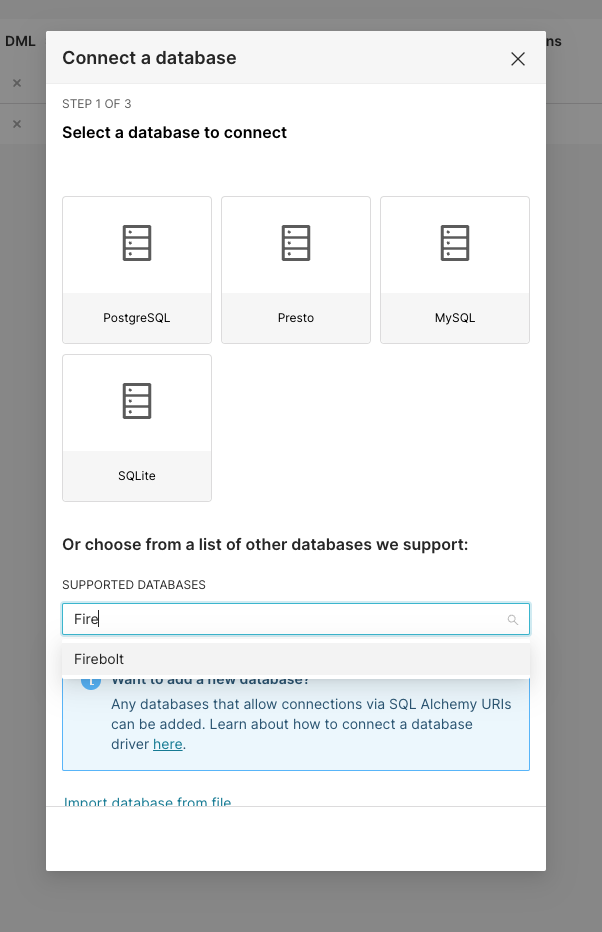
client_id and a client_secret. Learn how to generate an ID and secret here.

Account name must be provided, you can learn about accounts in Manage accounts section.

Credentials

Click the Test Connection button to confirm things work end to end. If the connection looks good, save the configuration by clicking the Connect button in the bottom right corner of the modal window. Now you’re ready to start using Preset!

Build your first chart

To build a chart you can follow our guide in the Superset section, as the Preset works identically.

Further reading